How to Take the Best Photos That Will Sell Your Horse
Selling online? First impressions matter
The photos you use in your listing are your best opportunity to capture buyers’ attention and showcase your horse’s qualities.
We understand the power of great visuals, which is why we make it easy for sellers to create standout listings and connect with serious buyers.
Here’s a step-by-step guide to taking photos that will help your horse sell faster and at its best value.
Why Great Photos Matter
Buyers rely heavily on photos to decide which horses to inquire about. Poor-quality images can raise doubts or fail to capture a horse’s true potential. On the flip side, well-composed, clear, and professional-looking photos highlight your horse’s strengths and build trust with buyers.
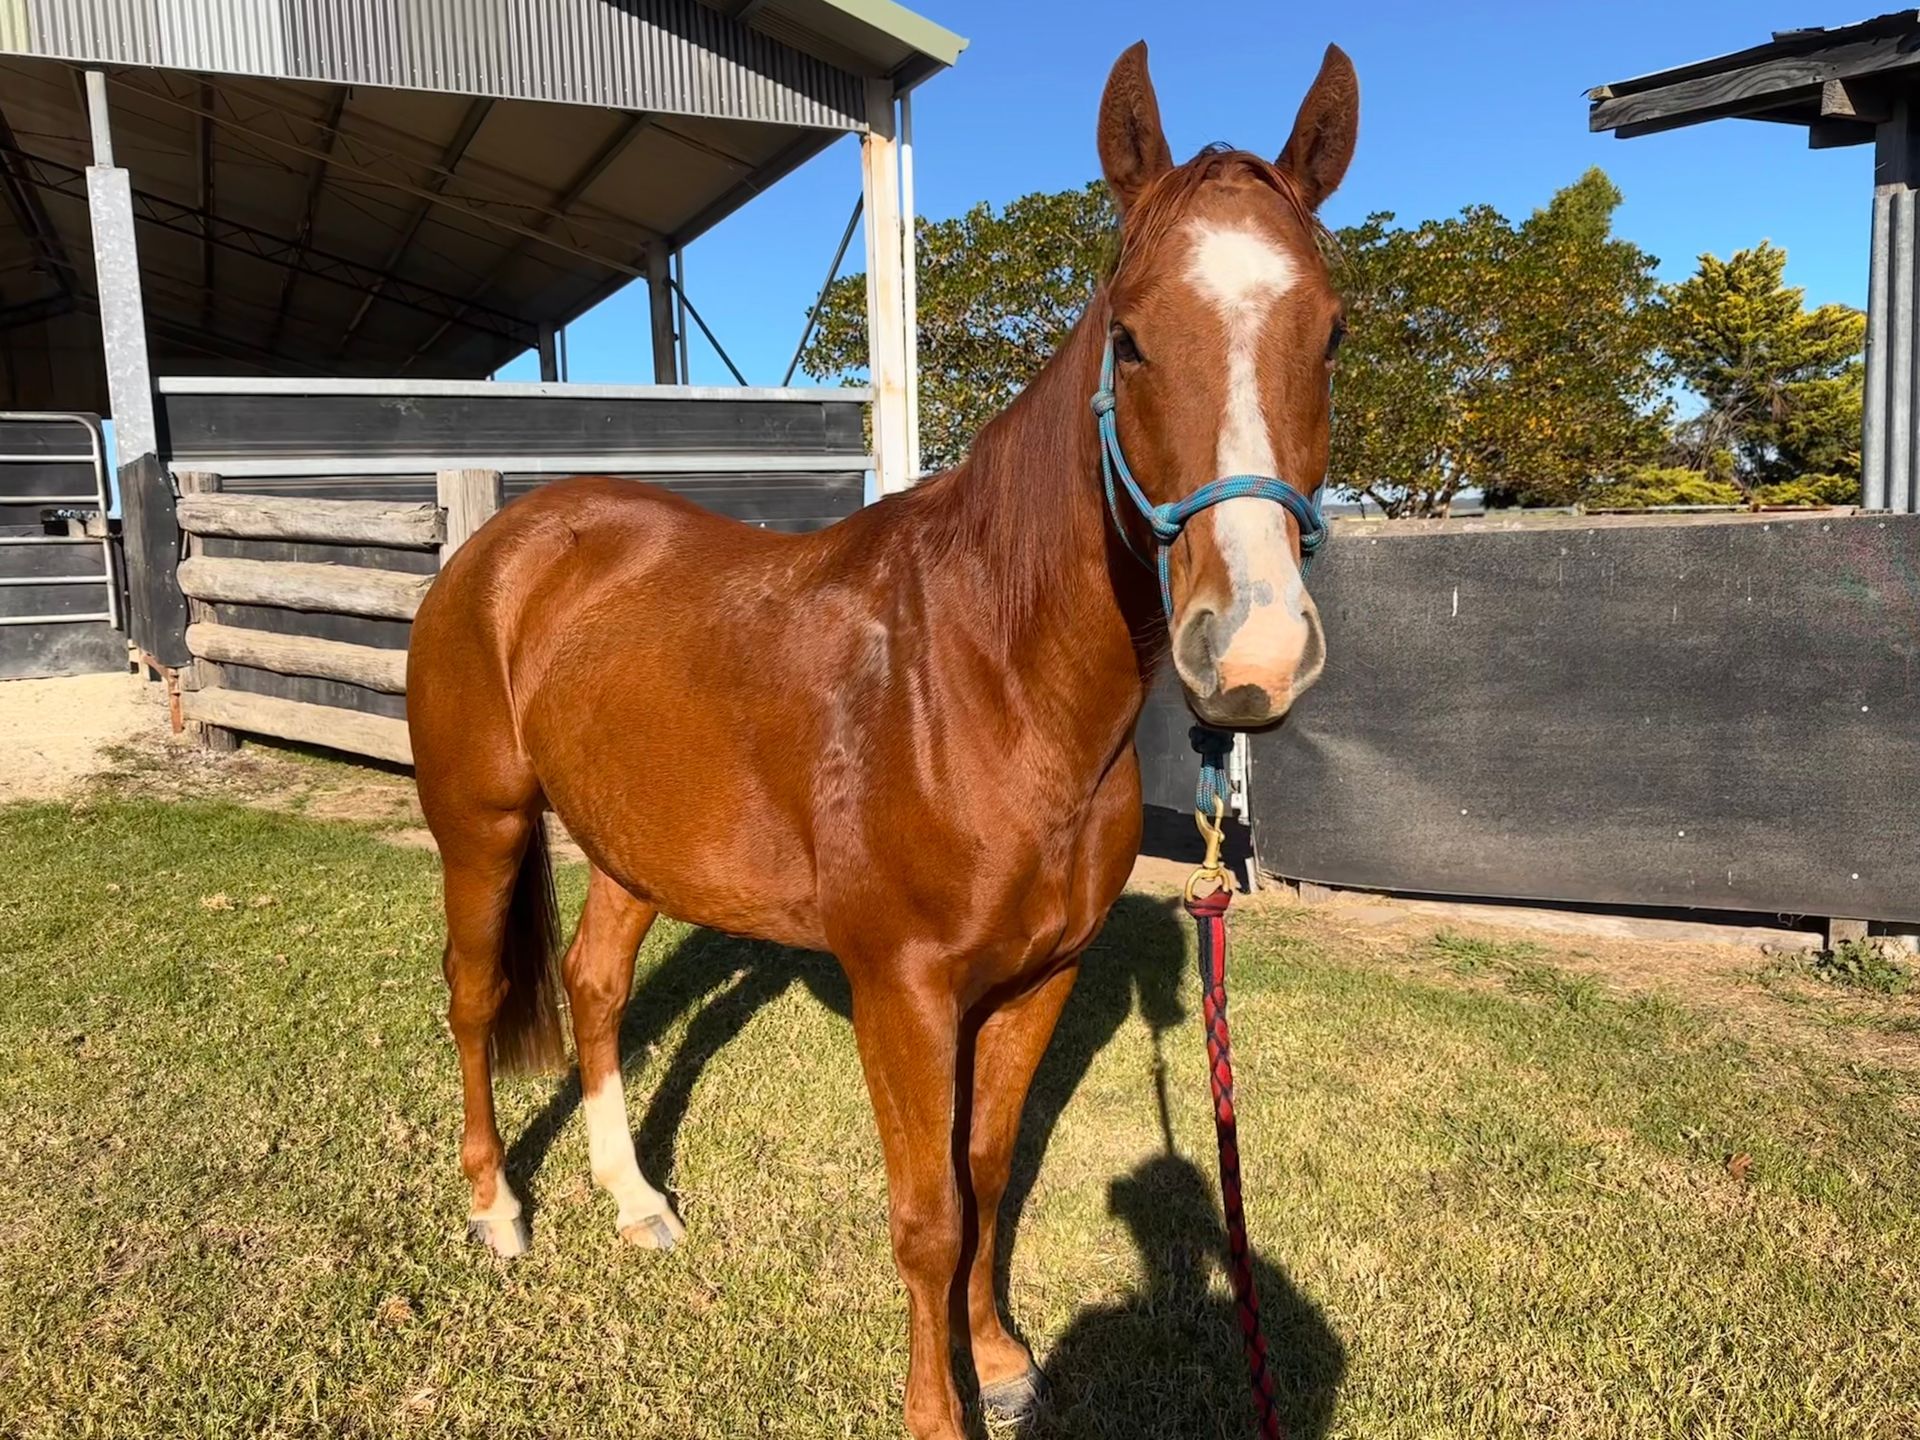
Step 1: Prepare Your Horse
A clean, well-groomed horse is essential. Buyers will notice dirt, sweat marks, or unkempt manes and tails in your photos. Even if your horse is of excellent character, these will distract and possibly even deter potential buyers from considering it as an option.
- Groom Thoroughly: Bathe your horse to remove dirt and stains. Braid the mane and tail (if appropriate for the breed or discipline). Trim whiskers, fetlocks, and any stray hairs for a polished appearance.
- Use the Right Tack: Use clean, well-fitting tack (appropriate for the breed or discipline). Avoid bright or distracting colours- neutral tones work best.
- Show Off Condition: Ensure your horse is in good health, with a shiny coat and proper weight. Consider scheduling your photos after a farrier visit so hooves are in top shape. Take photos of your horse without a saddle and rider so buyers can see the whole horse.
Step 2: Choose the Right Setting
The background of your photos should enhance, not distract from, your horse.
- Clean and Simple: Opt for an uncluttered setting like a grassy field, a well-maintained arena, or somewhere else with good lighting.
- Avoid Distractions: Remove unnecessary items like buckets, other horses, or vehicles from the frame. People in your images can also distract the buyer from the primary focus, which is the horse.
- Consistent Terrain: Use footing that allows your horse to stand evenly, as uneven ground can distort their posture in photos.
Our platform allows sellers to feature high-quality images in their listings with no cropping or resolution loss, so your efforts won’t go unnoticed.
Step 3: Use the Best Lighting
Lighting can make or break your photos.
- Natural Light: Shoot during the “golden hours” (early morning or late afternoon) for soft, flattering light.
- Avoid Shadows: Ensure your horse is evenly lit, with no harsh shadows on its body or face.
- Overcast Days: Cloudy skies provide diffused light, which can also work well.
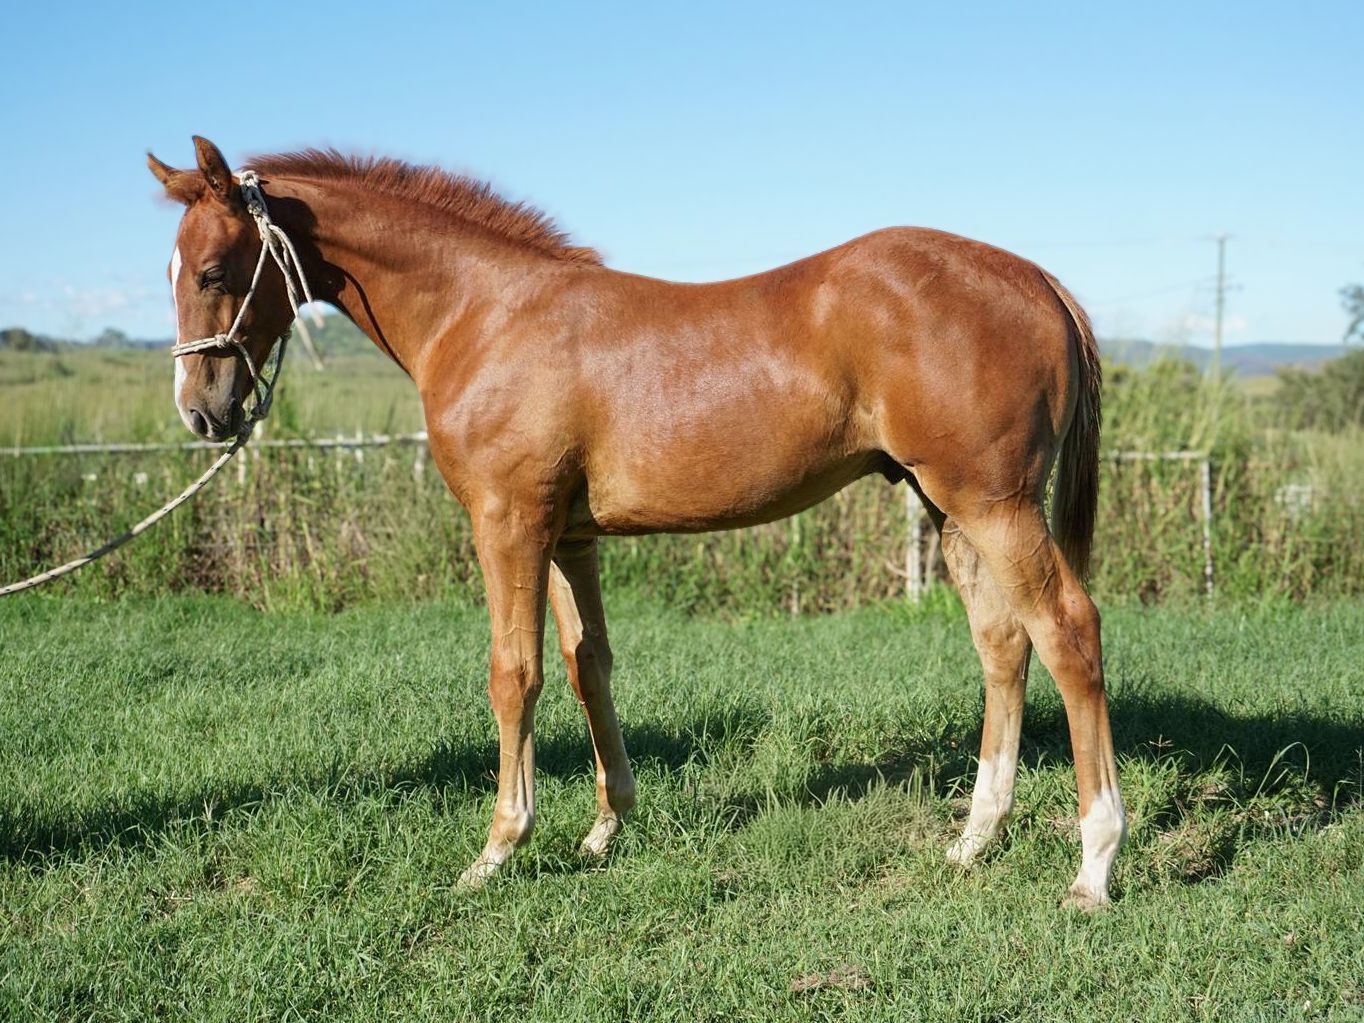
Step 4: Capture the Right Angles
Every buyer wants to see specific views of a horse to evaluate its conformation, temperament, and movement.
Essential Shots:
- Side Profile: Stand your horse squarely and photograph it from the side to showcase its conformation.
- Front View: Capture a head-on shot to show symmetry.
- Rear View: A photo from behind gives buyers a sense of its muscular structure and straightness.
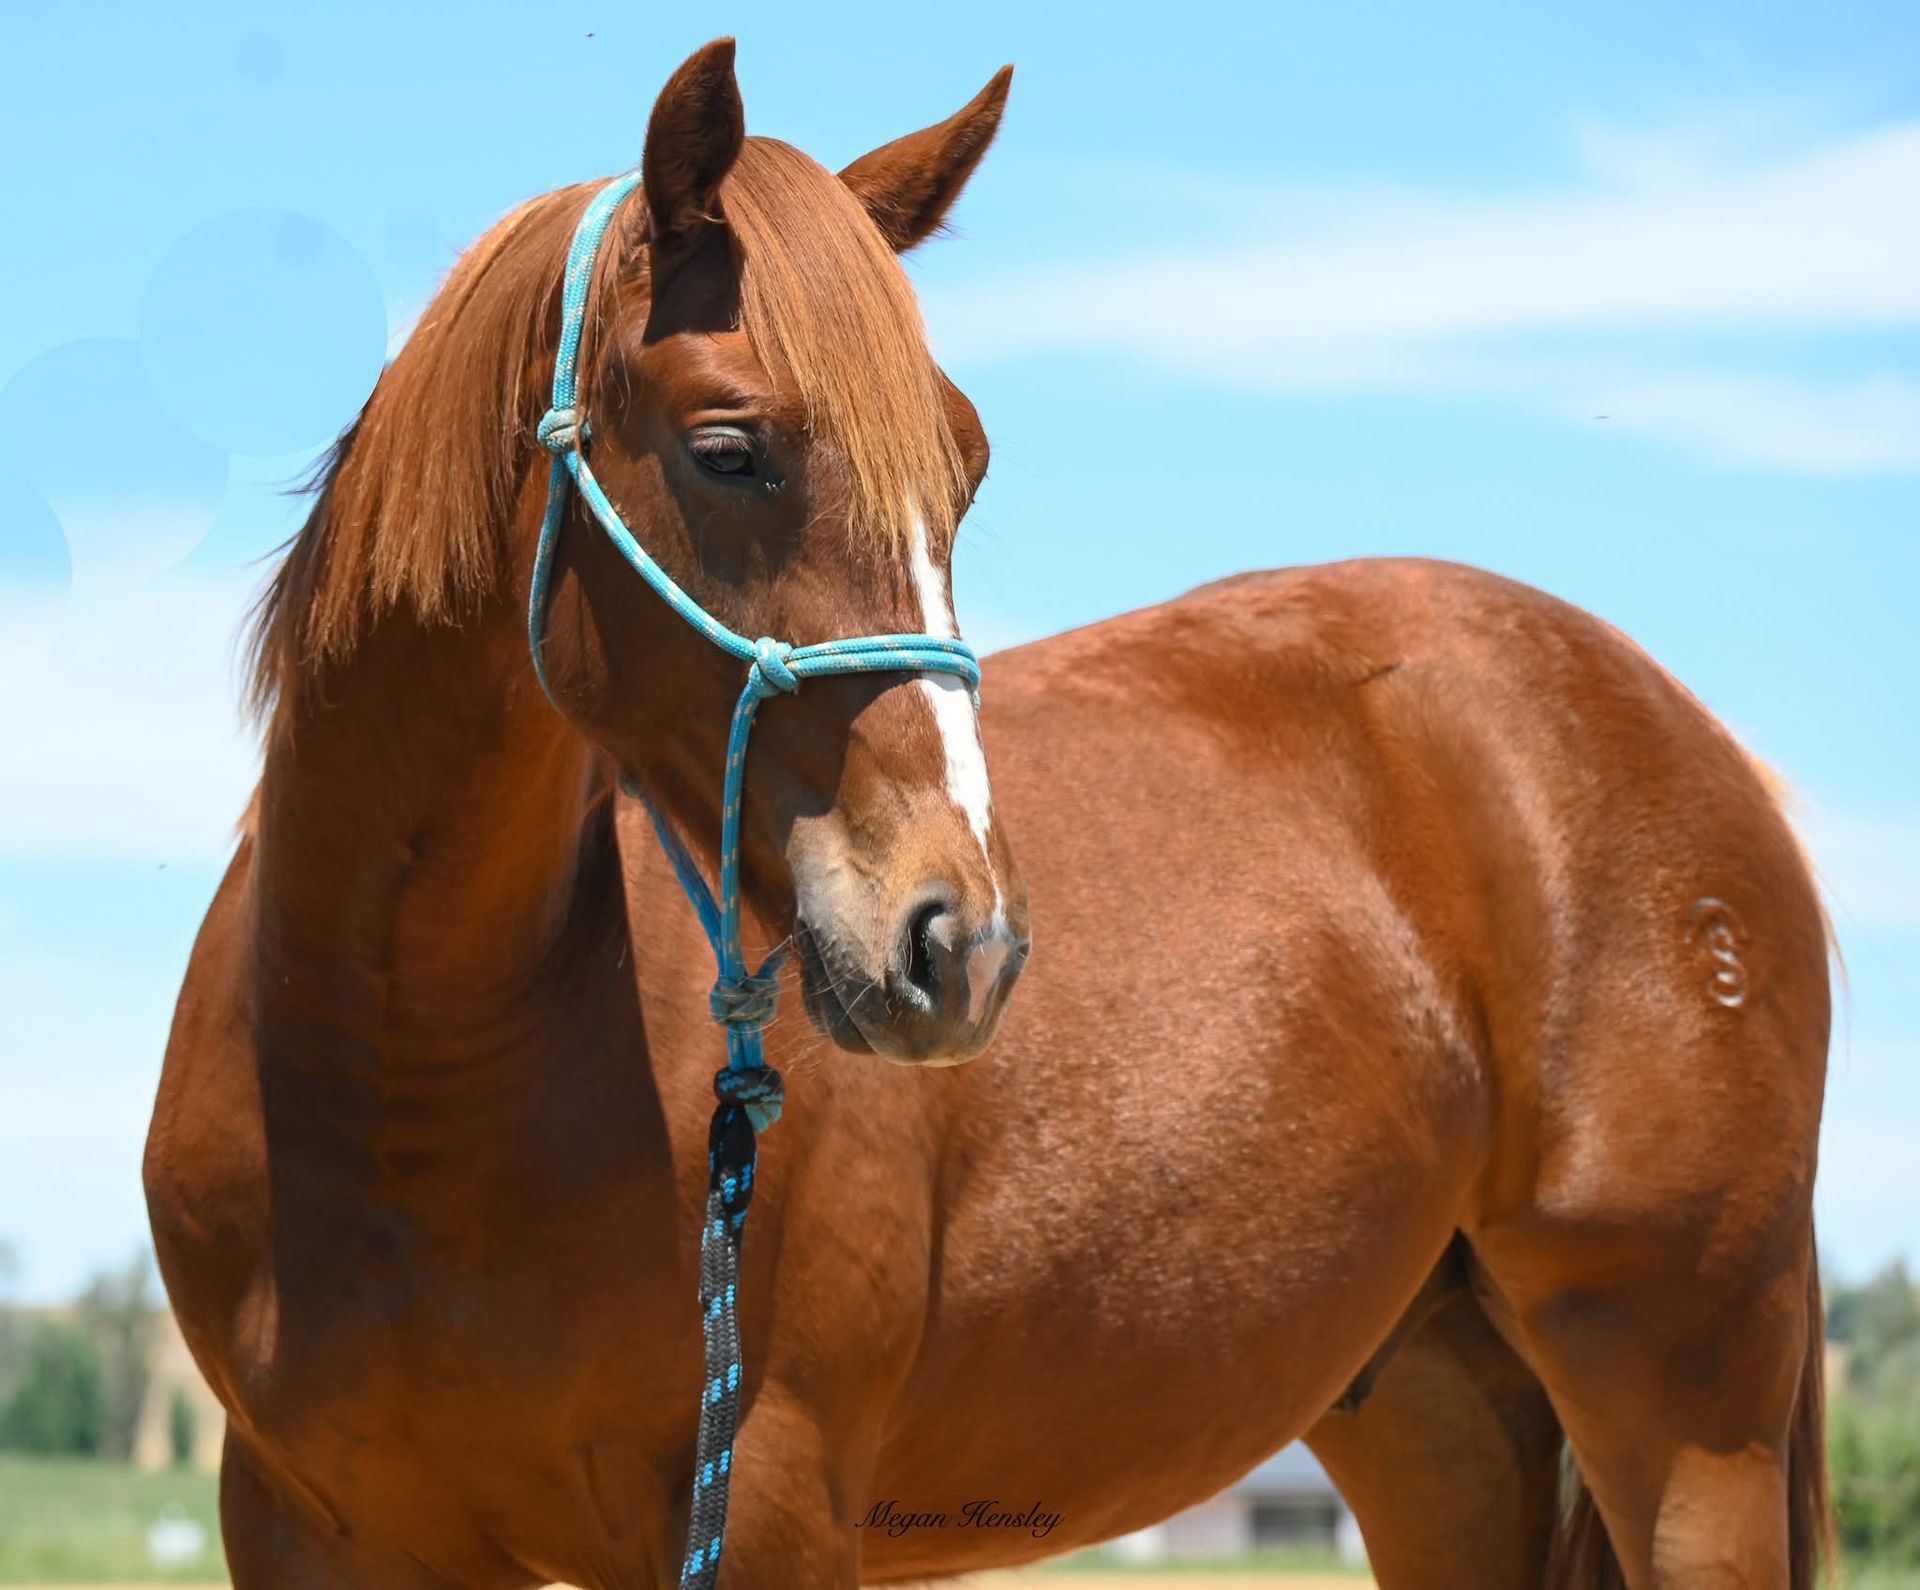
- Headshot: Highlight your horse’s personality with a close-up of its face.
- Movement: If possible, include photos of your horse walking, trotting, or cantering. Quality, unaltered videos are best to highlight movement of your horse in different gaits.
- Under Saddle (if applicable): Showcase your horse performing its discipline with a rider.
We recommend uploading a variety of photos and videos so buyers get a complete picture.
Step 5: Use the Right Equipment
While you don’t need professional gear, the quality of your photos will improve with the right tools.
- Smartphones: Modern phones with good cameras can capture excellent images.
- Digital Cameras: For higher resolution, use a DSLR or mirrorless camera.
- Tripod: Keep your shots steady by using a tripod, or resting your camera on something like a fence post.
Step 6: Present Your Horse Honestly
Transparency builds trust. Avoid over-editing with software which may misrepresent your horse. Buyers will appreciate an honest depiction of your horse. Manebid emphasises trust and integrity in our marketplace. Our user-friendly platform ensures sellers can create accurate and compelling listings that attract serious buyers.
Step 7: Organise Your Photos
When uploading your photos to Manebid, arrange them in a logical sequence, as mentioned in numerical order above. Start with a strong side profile shot, followed by other essential angles, and finish with action or under-saddle shots and videos. This organised flow helps buyers quickly evaluate your horse.
Leverage Manebid’s Tools for Maximum Exposure
By listing your horse on Manebid, you gain access to a suite of tools designed to simplify the sales process:
- Comprehensive Listings: Upload high-quality photos and videos to create a professional-looking listing.
- Promotion Packages: Choose an optional promotion package for featured placement and enhanced visibility.
- Buyer Reach: Our platform and marketing efforts attract serious buyers looking for horses like yours.
Ready to sell your horse? Manebid makes it simple to connect with the right buyer.